A hiking backpack is not a daypack with more pockets. The moment a pack has to carry 12 kg or more for several hours, the design problem changes completely: it stops being about storage and becomes about transferring load from your shoulders to your hips without the pack swinging, sagging or rubbing.
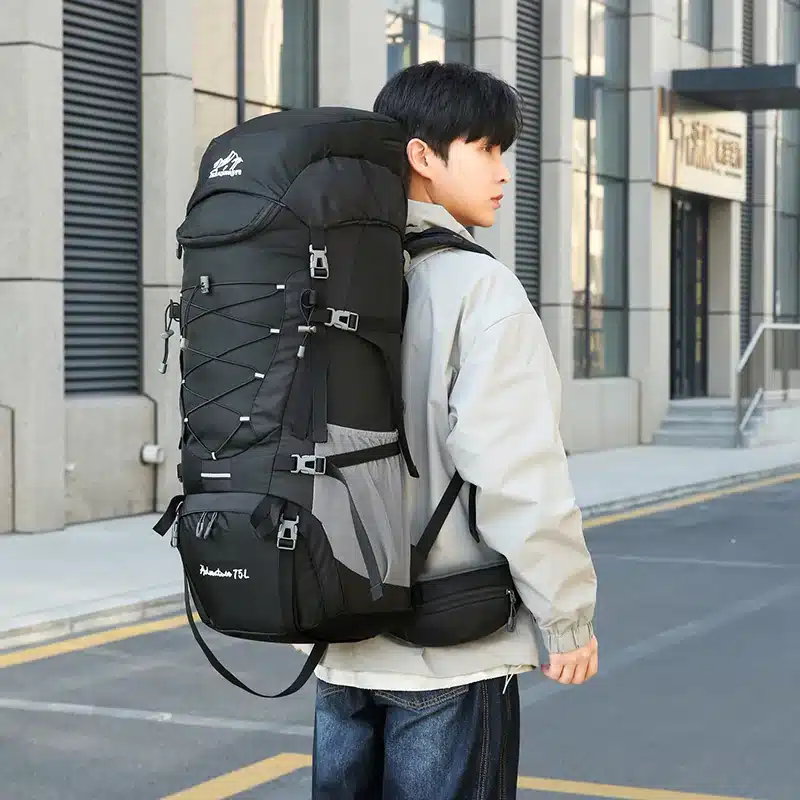
This guide walks through the structural decisions behind a genuine hiking pack — frame type, hip belt, load-lifter straps and back panel ventilation — and explains how those choices affect what you can sell and at what price. We manufacture OEM hiking packs and our 75 L hiking backpack is a good reference point for the components described below.
What Separates a Hiking Pack from a Daypack
Four structural features define a real hiking pack. Remove any one of them and you have a lifestyle bag that will be uncomfortable on a long trail:
- A frame or frame sheet that stops the pack collapsing into a cylinder under load.
- A load-bearing hip belt that sits on the iliac crest and carries most of the weight.
- Load-lifter straps that pull the top of the pack in towards the shoulders and stop it hanging backwards.
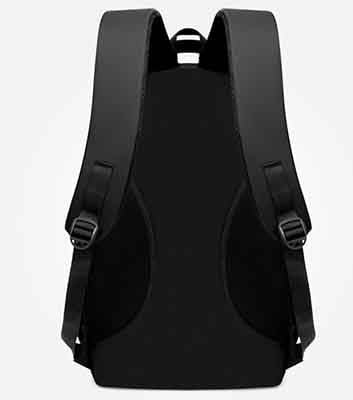
- A ventilated or anatomically shaped back panel so the pack is not a flat board against the spine.
Everything else — compression straps, hip-belt pockets, hydration compatibility, daisy chains — is refinement. These four are the difference between a pack that works and one that looks like it should.
Frame Types: Internal, External and Frameless
Frame choice is the single biggest structural decision, because it determines the pack’s load ceiling, its weight and how the back panel has to be built.
| Frame type | How it works | Load ceiling | Best for |
|---|---|---|---|
| Frameless (soft) | No rigid element — the pack relies on packing technique and a padded back panel | Light — roughly up to 8 kg | Ultralight trekking, day hikes, packable travel |
| Internal frame | Aluminium stays or a rigid HDPE frame sheet inside the back panel | Moderate to heavy | Multi-day trekking, the mainstream hiking category |
| External frame | A rigid external frame with the bag mounted on it | Very heavy, bulky loads | Expedition and traditional load-hauling; a niche today |
| Frame sheet only | A semi-rigid PE or EVA board, no stays | Light to moderate | Hybrid daypack/hiking packs, school and commuter crossover |
For most brands entering the hiking category, the internal frame with two aluminium stays is the sweet spot: it carries real weight, it is light, and it is the configuration buyers expect at a mid-to-premium price. A frame sheet alone is a legitimate cost-down option if you are targeting a lighter duty cycle — but be honest about the load ceiling in your marketing, because a pack that buckles at 12 kg generates returns.
The frame also has to match the torso length, not just the pack volume. This is where OEM development earns its keep: a proper size run means engineering the back panel and harness in more than one torso length, which is a pattern and tooling decision rather than a materials one.
Load Transfer: Hip Belts and Load-Lifter Straps
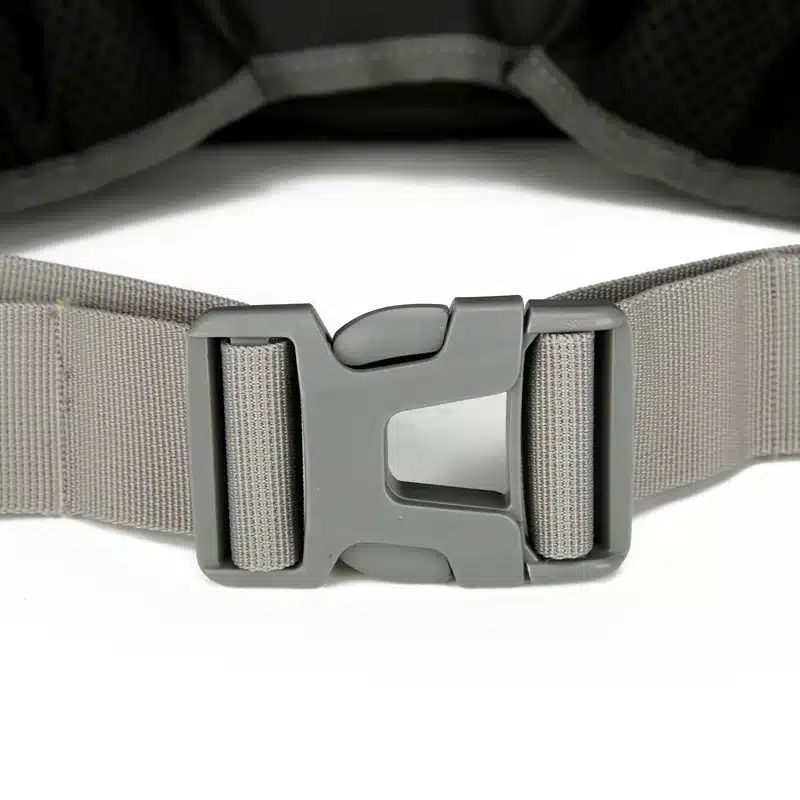
On a correctly fitted hiking pack, roughly 70–80% of the weight should sit on the hips. That is not marketing language — it is the whole reason a hip belt exists, and it is why a wide, padded, properly angled belt is not an optional upgrade.
- Hip belt padding and width. The belt needs enough surface area to spread pressure across the pelvis. A narrow webbing strap with a thin pad transfers weight straight to the shoulder straps instead.
- Belt angle. The belt should wrap slightly downwards and forwards so it grips the iliac crest rather than riding up under load.
- Load-lifter straps. These run from the top of the shoulder straps up to the pack body at roughly 45°. Tightening them pulls the load forward and up, taking pressure off the shoulders and stopping the pack from leaning away from your back.
- Sternum strap. Keeps the shoulder straps from spreading. It stabilises the harness — it does not carry weight.
The commercial takeaway: load-lifter straps and a properly engineered hip belt are cheap to add and expensive to omit. They cost very little in materials, but their absence is immediately obvious to any experienced hiker handling the pack in a shop — and it is the first thing a serious retailer will check.
Ventilation: Suspended Mesh vs Contact Back Panel
Sweat is the most common complaint about any backpack, and on a hiking pack it becomes a genuine design trade-off, because ventilation usually costs stability.
- Contact back panel. Padded foam sits directly against the back. The most stable option and the best load transfer, because the pack is close to the spine. It runs hot.
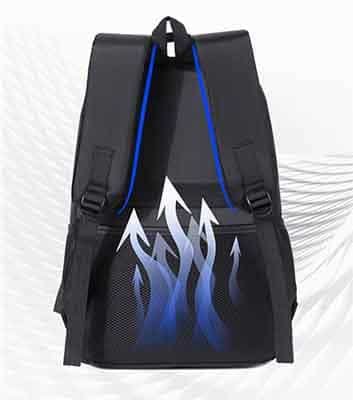
- Suspended mesh (tensioned back). A mesh panel is tensioned away from the frame, leaving an air gap. Dramatically cooler, and a strong retail feature — but it pushes the load further from your centre of gravity, which reduces stability on technical ground.
- Channel or ridge foam. A middle path: moulded foam with vertical channels that let air move while the pack stays close to the body. Usually the best compromise for a mainstream trekking pack.
Which one you choose should follow the customer, not the trend. Suspended mesh sells well to warm-climate and casual hikers; channel foam suits buyers who carry heavier loads on uneven ground. If you are building a single hero pack, channel foam is the safer commercial bet — it is easier to market as an all-rounder and it does not compromise load transfer.
Fabric, Zippers and Hardware for Trail Use
Trail use is unforgiving in a specific way: it is not impact that kills a pack, it is abrasion from rock, grit and repeated ground contact every time the pack is set down.
- Body fabric. A tight-weave, coated synthetic is the default. Abrasion resistance matters far more than a high denier number on its own — a well-woven mid-weight fabric usually outperforms a loose heavy one. Our denier ratings guide explains why the number alone does not tell you the whole story.
- Base panel. The highest-abrasion zone on the whole pack. Reinforcing the base with a heavier fabric is one of the cheapest durability wins available.
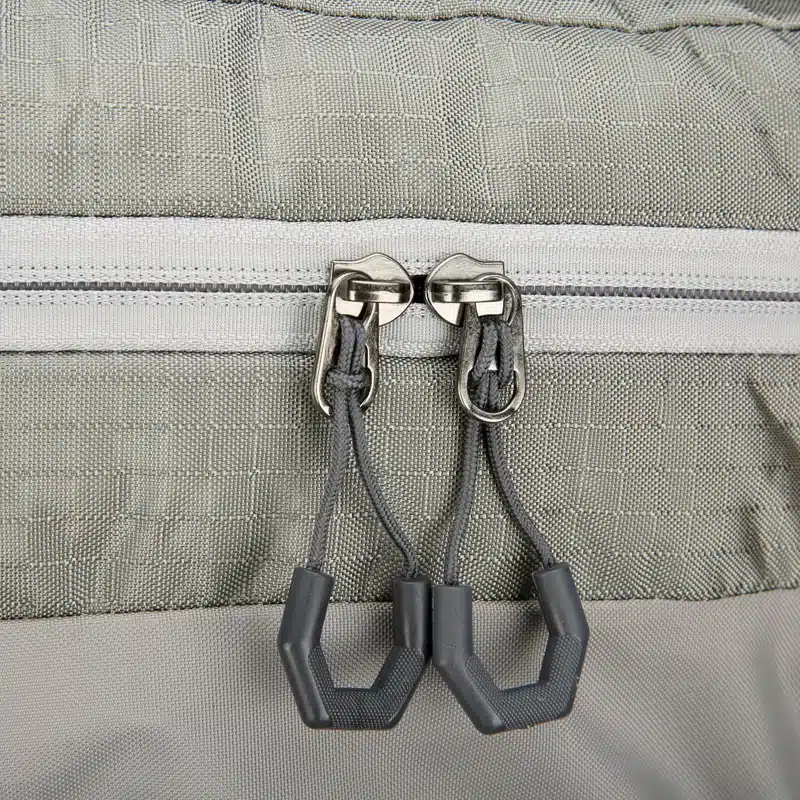
- Zippers. Larger-gauge coil zippers on the main compartments — a #8 or #10 rather than a #5 — because a loaded main compartment puts real lateral force on the teeth.
- Hardware. Buckles and adjusters should be rated for the loads they actually see. On a hiking pack, the hip belt buckle and the shoulder-strap adjusters are the two that fail first.
- Weeping points. Every strap junction, every D-ring and every compression point is a potential tear. Bar-tacks at these junctions are a small cost with a large effect on warranty rates.
Custom Branding Options for OEM Hiking Packs
Branding on a hiking pack is mostly about restraint. Trail users are conservative buyers and heavy branding reads as a lifestyle product, not equipment. The options that work:
- Embroidered logo on the front panel or the top lid — the most durable and the most common choice.
- Woven label on the shoulder strap or hip belt — subtle and inexpensive.
- Rubber or TPU patch — a stronger, more technical look; requires a one-time mould.
- Custom zipper pullers with an engraved or moulded logo — a small, high-visibility detail.
- Printed lining or interior label — brand presence the customer sees every time they open the pack.
Custom colourways are the other major lever. We quote Pantone-matched fabric from 500–1,000 pcs per colour, which is the volume at which a dedicated dye lot makes sense. Below that, stock colourways from 50 pcs are usually the practical route to a first order.
Sampling and Production Timeline
For an OEM hiking pack, the realistic sequence looks like this:
- Brief and tech pack review — frame type, torso sizes, volume, harness spec, materials, branding.
- Pattern and tooling — where the development time sits. A single torso length is faster; a size run is not.
- Sample round(s) — 7–10 days per round from our factory, with revisions if the fit or the harness geometry needs adjusting.
- Bulk production — 25–35 days after sample approval and deposit.
Custom MOQ is 300 pcs per style, and stock colourways start from 50 pcs. The single biggest schedule risk on a hiking pack is not sewing — it is agreeing the harness geometry, because that is the part you cannot fully evaluate from a drawing. Budget one extra sample round for any pack with a new frame or a new back panel.
FAQ: OEM Hiking Backpacks
What is the minimum order for an OEM hiking backpack?
300 pcs per style for custom development. Stock colourways are available from 50 pcs, and Pantone colour matching starts at 500–1,000 pcs per colour.
How long does sampling take?
7–10 days per sample round, then 25–35 days for bulk production after approval and deposit. Allow an extra round if the pack uses a new frame or back panel design.
Can you build a size run with different torso lengths?
Yes. It is a pattern and tooling decision rather than a materials one, and it is one of the clearest ways an OEM hiking pack differentiates from a generic daypack.
Do you offer hydration bladder compatibility?
Yes — a hydration sleeve and hose port are standard options on our hiking pack development. See the hydration vest for a running-specific example of the same design language.
Which back panel should I choose?
Channel or ridge foam is the safer commercial default: it ventilates better than flat contact foam without the stability penalty of a fully suspended mesh panel.
Can you match a competitor’s pack?
We can build to a specification and a reference sample, and we will tell you honestly where the reference design will not hold up under load. We do not copy protected designs.
Send us your target volume, load range and price point and we will recommend a frame, harness and fabric combination that gets there. Request an OEM hiking pack quote, or browse the outdoor hiking backpacks range.